DIY Table Instructions
DIY CUSTOM TABLE
How to Make an Inexpensive Cedar Table
Welcome to MADE For You Blog! This will be a brief tutorial on how to build a table in easy steps. You can also follow along with the video to see how my table turned out!
Quick background, I built a table for my office! I needed extra storage space for new equipment and products. Since my office space is in an attic with vaulted ceilings, it means a normal sized table would not fit. I basically needed a large table with the height of a side table, so about 20 inches tall. However, with these table instructions, you can modify the height to fit your needs. Let’s get into it.
List of Things You Will Probably Need
- Safety Equipment - Goggles and KN95 Mask
- Electric Drill/Screwdriver
- Electric Sander & 80 to 150 Grit SandPaper (220 For Fine Sanding)
- Stain (I used Cedar-Toned Spray, but not the best quality.)
- Polyurethane to Seal (I used a Polyurethane Spray, but not the best quality.)
- Electric Saw or Miter Saw
- Drill Bit 7/64, which is what I used (Normally, online people recommend 11/64 for #8 screws)
- 2" #8 screws (QTY 16)
- 2.5" #8 screws (QTY 12)
- 2 - 2"x4"x8ft Cedar Planks - Cut to 3 Planks 44 inches
- 8 - 3/4"x5.5"x6ft Wood Dog-Ear Cedar Fence Pickets (For better quality table, this is not recommended because they are not very even.)
- 1 - 4"x4"x8ft Red Pine Cedar-Tone Timber (Cut for 4 Legs at 20 inches for the height. If you are interested in creating an average table height, that would be between 28 to 30 inches; so you will need at least 2 of these, instead of just 1.)
- 2 - 2"x2"x8ft Cedar Board (I cut to fit once the table was constructed)
- If you need an extremely sturdy table, I would use pocket holes because they are more secure and can handle more weight. My Pocket Hole Drill Kit didn’t fit the legs.
- If you want to build a nicer table too, you may need a max or extra sealant to give that glossy finish.
DIY Table Instructions
A Tutorial for Beginners by a Beginner
- Step 1
- You want to thoroughly sand the cedar planks that will be the top of your table.
- 80 to 150 Grit Sander Paper
- Step 2
- You will clean then stain the table.
- I used a dry rag then a damp cloth.
- I used a spray stain and coated it only once, but for a darker finish, you can do two.
- Step 3
- While you wait for the stain to dry you can make your cuts for the support boards that will connect & secure the cedar planks together.
- With the 2x4 boards, cut them to 44inches, but it will depend on how large you are building your table. You can also cut the 4x4’s, which will be the legs of the table.
- Step 4
- After everything is dry, you can polyurethane. Once again, I used a spray, which isn’t the best, but I already had it on hand. Using a rag and regular polyurethane is the best.
- 2-3 coats on the boards and lightly sand in between with 150+ Grit.
- Step 5
- When you are waiting for these to dry, you can sand the 4x4s and 2x4s.
- Step 6
- Clean and Seal the 2x4's and 4x4's
- Step 7
- Layout the table top with the side you want as the top facing down.
- Lay the 2x4's over the cedar planks and figure out where you want them.
- In the video, I started with only 2 planks on the sides, but realized I needed a third in the middle as well.
- I also had to make the table in the attic since we wouldn't be able to carry it up the stairs. KEEP THE LOCATION IN MIND WHEN MOVING TO THE CONSTRUCTION PART.
- Step 8
- When you attach these planks together, you want to use the 2" flathead wood screws. MAKE SURE THE DRILL BIT IS SHORTER THAN THE SCREWS TO ENSURE YOU DON'T DRY THROUGH.
- Step 9
- Figure out the table legs and get them situated.
- After I fully attached the top of the table, I actually flipped it onto two side tables to see where I needed to attach the legs. At this point, it would be easiest to have an extra person to help, but I had extra tables since I drilled through the top to attach it.
- If you do pocket holes, you do not need to flip it over.
- Step 10
- Secure the table with support beams aka 2x2's
- Once I thought I was done, I was not done because the table was super wiggly because I didn’t use pocket holes and it was only one screw attaching each leg at the top. Not a good strategy. So, I reached out to a friend who is much smarter than me especially at these things and he gave me advice on how to make it more stable. This is when the 2x2s come into play.
- So, I added the lengthwise 2x2 higher making them flush to the 2x4 planks.
- For the width or depth of the table, I added them a little lower than the other 2x2 because since they are on the sides, they wouldn't get in the way as much.
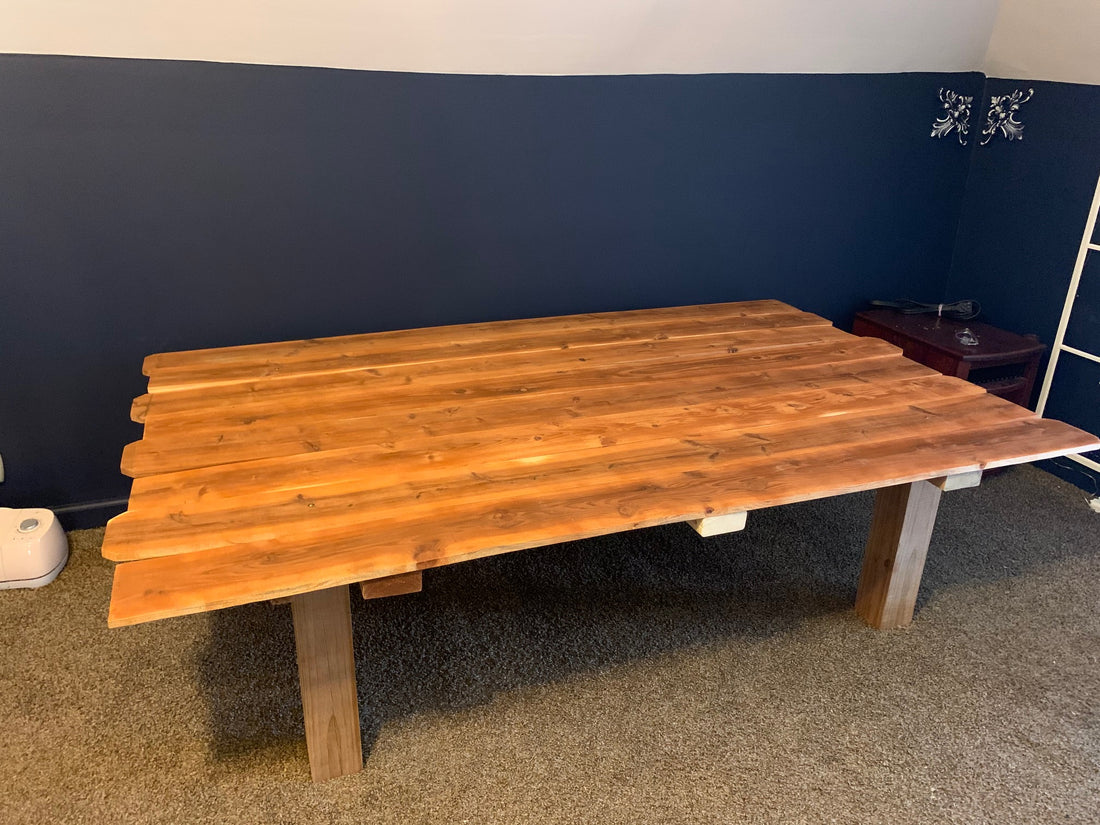
DONE! I personally love how this table turned out especially since it was my first time. It took a lot of time and patience, but I think I spent under $60 on supplies so definitely worth it. Check out my final product!
If you enjoyed this tutorial, please comment, share, and remember, you can subscribe to The Market Made channel and MADE For You Blog! And as always, thank you for joining The Market Made and I hope you have a great day.


